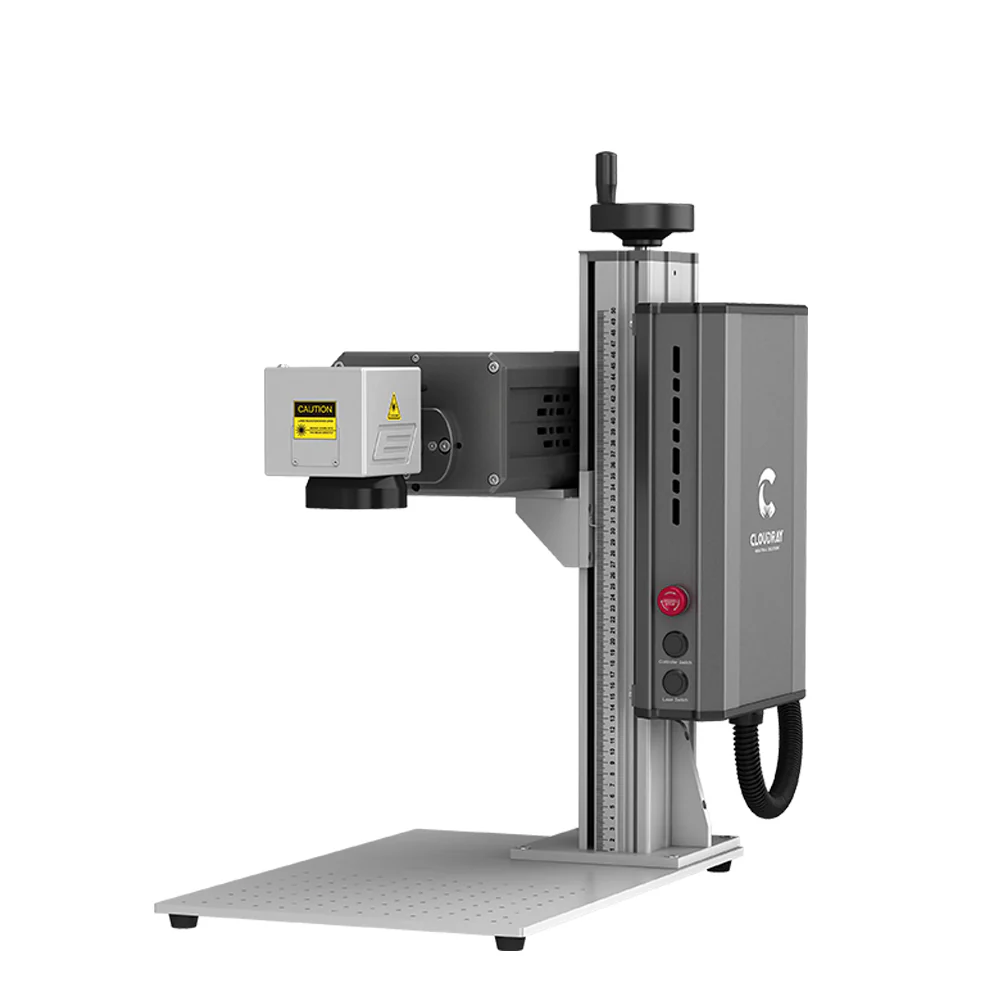
Raycraft is the marking software used with Cloudray UV-P Pro series machines.
For new users who have just purchased a Cloudray UV-P Pro machine, understanding the basic software workflow is an important first step before starting laser processing.
This guide introduces the main operation process for flat engraving in Raycraft, including creating a new project, importing artwork, adjusting the design size and position, optimizing image settings, reviewing marking parameters, using autofocus, previewing the engraving area, and starting the marking process.
1. Create a New Project
Launch the Raycraft software and click New Project in the upper left corner of the interface.
Starting with a new project helps keep the marking layout, imported artwork, and parameter settings organized before processing.

2. Import and Adjust the Pattern
Import the content that needs to be marked. Raycraft supports different types of marking content, including:
| Content Type | Description |
|---|---|
| Bitmap image | Suitable for photo-style or raster image marking |
| Vector file | Suitable for logos, outlines, graphics, and precise shapes |
| Text | Suitable for names, labels, codes, and simple marking content |
After importing the artwork, adjust the object size, rotation angle, or position as needed.
When resizing the object, click the Lock icon to maintain the aspect ratio. This helps prevent the design from being stretched or distorted during scaling.

3. Optimize Image Marking Settings
Select the image and adjust the marking effect according to the artwork and material surface.
For image marking, two important settings are Dither Mode and Invert.
| Setting | Function |
| Dither Mode | Helps produce a marking result closer to the original image effect |
| Invert | Reverses the image effect when needed to improve contrast on certain material surfaces |
Dither Mode
In the Mode options, selecting Dither can help the marking result appear closer to the original image effect. This is useful when marking image-based artwork rather than simple lines or text.
Invert
Whether to enable Invert depends on the image color and the material color.
If the background color of the image is close to the material color, enabling Invert is recommended. For example, when marking a gray-background image on a dark gray or black material, turning on Invert can produce a clearer result with higher contrast.

4. Adjust Marking Parameters
Adjust the marking parameters according to the material, artwork type, and required marking effect.
Common parameter items may include speed, power, frequency, pulse width, and other settings depending on the machine configuration and process requirements.
| Parameter Item | Adjustment Note |
| Pulse Width | A smaller pulse width generally results in higher energy output |
| Frequency | Frequency should be matched with the pulse width for better performance |
The reference parameters in the materials section can be used as a starting point. However, the final settings should still be adjusted according to the actual material, surface finish, artwork detail, and marking result.

5. Use Autofocus
Click the Autofocus button to automatically adjust the machine to the optimal focal distance.
Correct focus is important for achieving a clear and stable marking result. Before starting the final marking process, make sure the material is properly placed and the focusing process has been completed.

6. Preview the Marking Area and Start Marking
Click Preview to check the size and position of the marking area.
Before starting the marking process, confirm that:
| Check Item | Purpose |
| Marking area size | Ensures the artwork fits within the material |
| Marking position | Prevents the design from being marked in the wrong location |
| Artwork direction | Confirms the design is not rotated or mirrored incorrectly |
| Material placement | Ensures the material is aligned before processing |
After confirming that the preview position is correct, click Mark to start processing.

Final Checklist Before Marking
Before starting a Raycraft 2D marking job, review the following checklist:
| Step | Check Item |
| Project setup | A new project has been created |
| Artwork import | Bitmap, vector file, or text has been imported correctly |
| Artwork adjustment | Size, rotation, and position have been checked |
| Aspect ratio | Lock icon has been used when proportional scaling is needed |
| Image settings | Dither and Invert have been adjusted if required |
| Parameters | Marking parameters have been reviewed and adjusted |
| Focus | Autofocus has been completed |
| Preview | Marking area size and position have been confirmed |
| Processing | Mark button is clicked only after all checks are complete |
Conclusion
Raycraft provides a straightforward workflow for preparing basic laser marking jobs. By creating a new project, importing the artwork, adjusting the image effect, setting the marking parameters, using autofocus, and previewing the marking area, users can complete the essential setup before processing.
For best results, always confirm the final parameter values with the actual material, artwork file, lens setup, and marking software before repeated or batch marking.